I know we have all likely spent more time indoors over the past 3 months than normal. That’s why I think it is a good time to take advantage of it by giving your home a little bit of TLC. I have put together a list of 5 home maintenance tips you can do yourself. You may require a few additional tools or materials that you don’t have at home right now but with one trip to the hardware store you could have everything you need. Be safe if you have to go out to the hardware store or use a small ladder to perform any of the maintenance tips at a height above the finished ground. If you rent your home please refer to your rental agreement to confirm which maintenance items are your responsibility as the tenant and which items are your landlord’s responsibility.
Caulking inside & outside

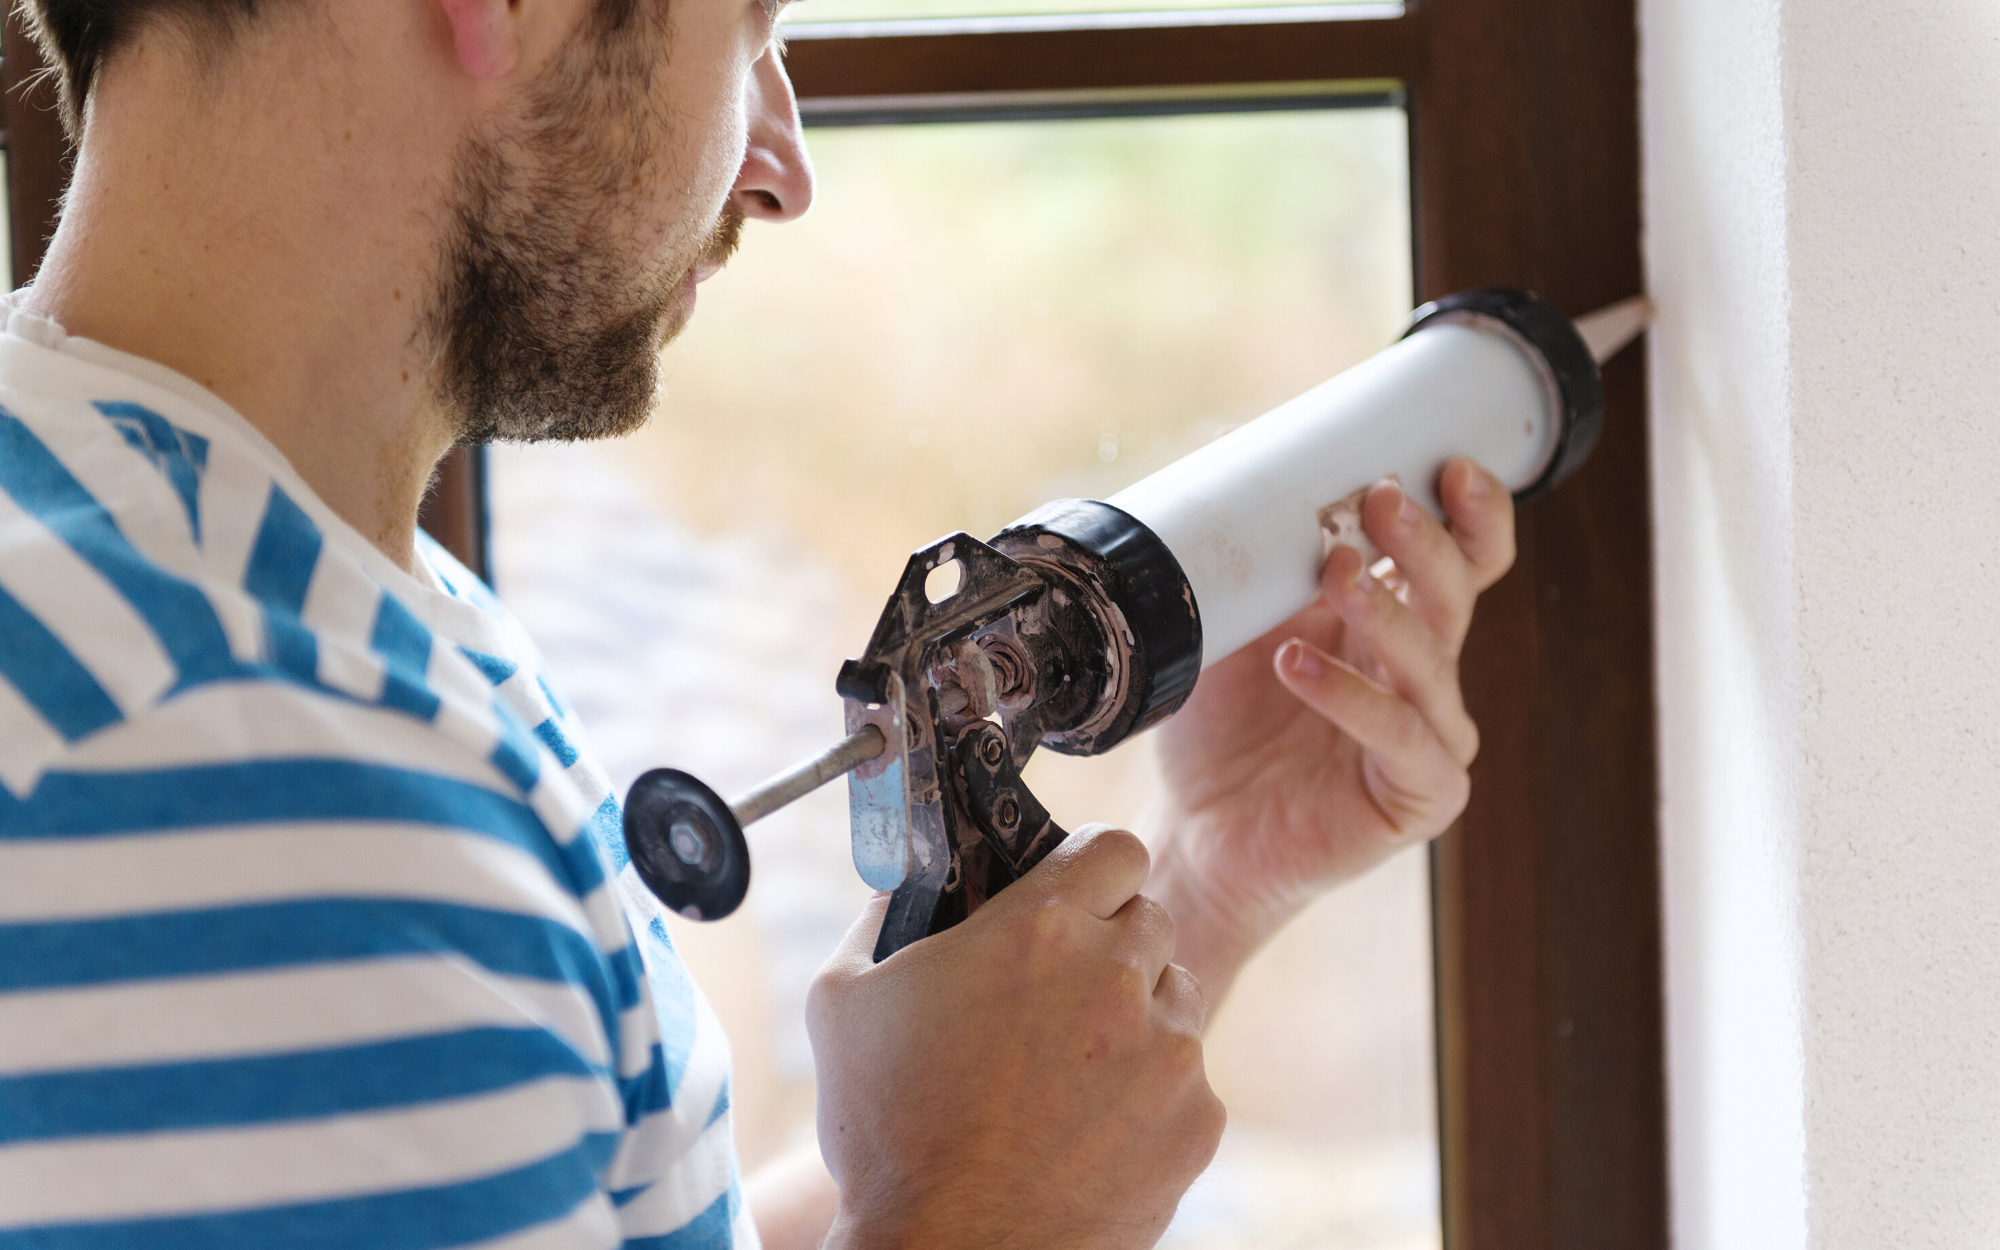
Caulking is typically the last line of defence between the finishes inside/outside of your home, and moisture causing damage behind those finishes. Caulking is installed to provide a water tight seal between two dissimilar finishes where a mechanical connection cannot be achieved. Over time, caulking can dry out and crack allowing moisture to enter these spaces and potentially cause damage.
All you need to prevent moisture damage is:
- A caulking scraper
- A tube of caulking that is suitable for the application
- A caulking gun
The most common locations where you may find caulking on the outside of your home is around windows and doors on the exterior; around pipes and any other penetrations through your exterior cladding; inside your bathroom or kitchen at the back of your countertop; at the top rim of your bathtub or shower and many other locations where water damage is possible.
The most common types of caulking you would find inside or outside your home would be silicone or acrylic. Silicone is typically used in higher moisture areas such as exterior, as well as kitchens and washrooms. Acrylic is typically used in finish work to seal small gaps in finish material such as trim and baseboard. Be sure to select the correct type of caulking for the application.
Caulking can come in a clear finish, white or tinted to match existing finish materials. Be sure you are using interior/exterior caulking in the appropriate environment. A higher-grade caulking will usually last longer than a cheaper inexpensive caulking so take this into consideration as a lower grade caulking will need to be replaced sooner.
#FastTip: The most important thing to remember is to remove the existing caulking if you are planning to replace it. Most caulking will not stick to itself or existing caulking so make sure to take the time to carefully remove it before installing more. Follow the manufacturers installation instructions on the tube when installing the caulking. Use a tool or a wet fingertip to smooth the caulking to provide the required appearance and seal.
Replace/Clean HVAC filters
Your house my have an HVAC system consisting of a forced air furnace, a Heat Recovery Ventilator (HRV) or both. These appliances typically have filters that need to be cleaned or replaced on a regular basis. The main purpose of your furnace filter is to protect the blower fan from damage caused by dust, hair and any other household debris. The furnace filter also has some benefits of providing cleaner indoor air throughout the house. A good rule of thumb would be to replace your furnace filter every 3 months or about once every season. Check your furnace manufacturers installation instructions to be sure. Be sure to install a filter of the same size as required by your furnace manufacturers instructions. Some filters are required to be installed in a certain orientation in regards to the air flow, so be careful to install the filter in the correct position.
If your house has an HRV, it typically has filters and a large core that can be cleaned and are not required to be replaced. To do this yourself, unplug your HRV and open the front panel. You will normally see two small rectangular filters and one large core in the middle. These can normally be removed to be cleaned. Vacuum the filters and core, being careful not to damage them. The filters and the core can normally be washed with mild dish soap and warm water. Be sure not to damage the filters if they are made of foam. Vacuum out the inside of the HRV unit while the filters and core are removed. You can remove any built-up dust and debris on the fans or dampers at this point, just make sure the HRV is unplugged.
The HRV should have a condensate line on the bottom, you can remove this and flush it out with warm water, ensure there is a loop in the hose to act as a trap. Ensure the filters and core are dry before placing them back inside the unit. Put everything back in its place but leave the HRV unplugged for now and head outside. Once you are outside, locate the HRV intake and exhaust terminals on the outside of your house. These are typically two, 6-inch round ducts covered by exhaust hoods. They are normally 6’ apart horizontally. You can remove the covers of the hoods and clean these areas out as well. Sometimes if they are not maintained a bird can find them a lovely place to build a nest. These hoods will normally have a wire or plastic mesh that can be removed to be cleaned. Make sure all dust and debris is removed from this location. Put the mesh and hoods bath together and head back inside. Plug the HRV back in and prepare to do this again every few months.
Keep moisture under control

Excess moisture inside the home can lead to mold problems if not dealt with quickly. In high moisture areas such as washrooms and kitchens, exhaust fans are extremely important.
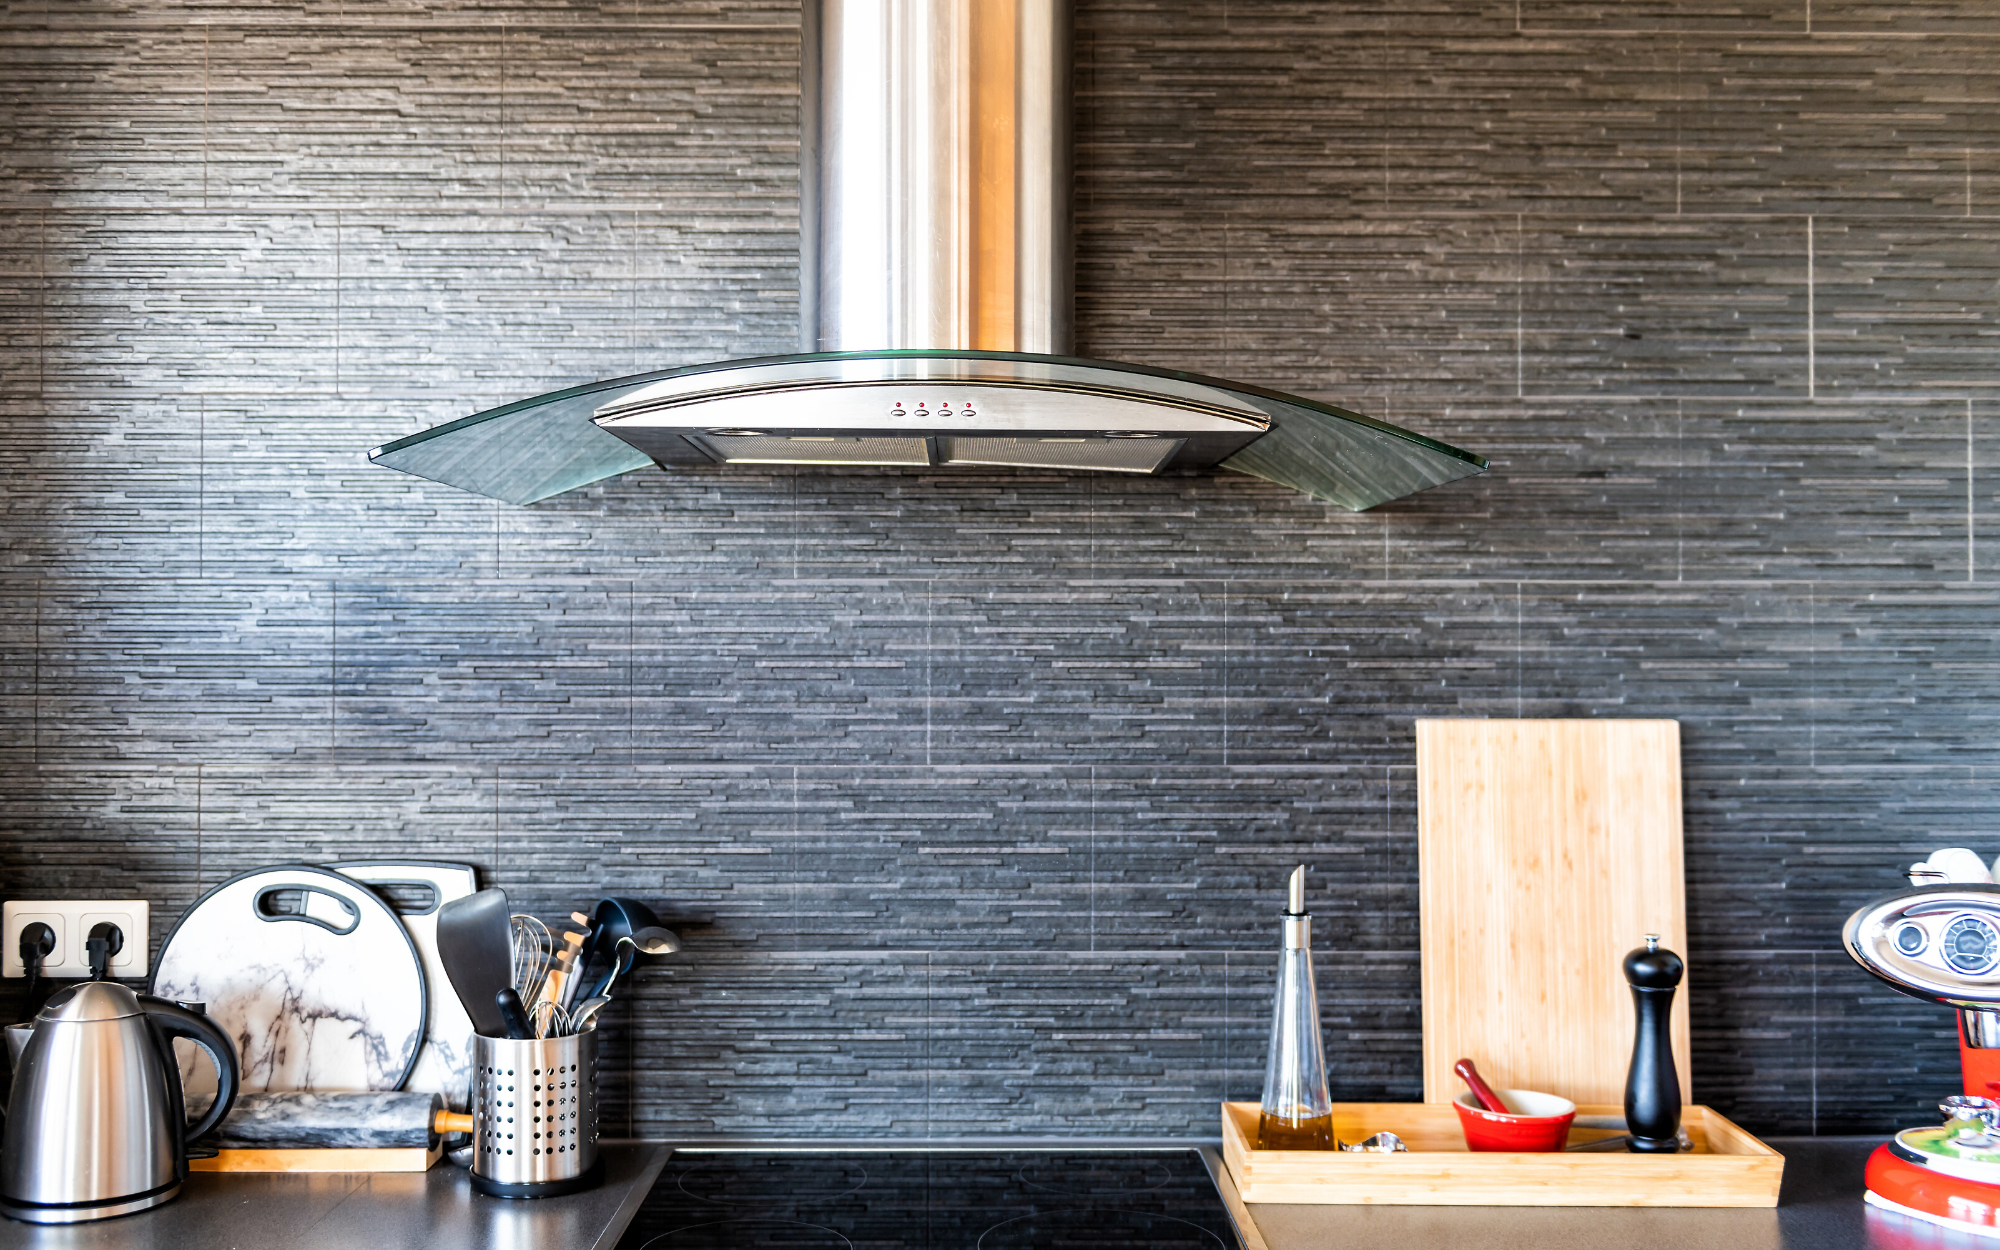
In your kitchen you should have a range hood directly above your stove with a pipe that vents directly to the exterior of the home through the roof or the gable end. Sometimes range hoods will be installed to “recirculate”. This will trap some of the grease while cooking but moisture will stay inside the home.
The range hood should be used whenever you are cooking on the stove. Be sure that your range hood is successful at exhausting moisture to the outside of your home. There should be a small rectangular filter on the underside of the range hood, this can normally be removed and cleaned as it will collect a large amount of grease during use.
Washrooms should have an exhaust fan on the ceiling that vents directly to the exterior of your home through the roof or the gable end. Typically, the only maintenance you could perform on your washroom exhaust fan would be to remove the plastic cover and vacuum it to ensure it is clean. Dust collected on the fan can impact how the fan operates. Ensure the cover is placed back on the fan before it is used. The exhaust fan should be used whenever showering or using the bathtub. Turn the fan on when the shower or tub is turned on and leave the fan on for approximately 20 – 30 minutes after the shower or tub is turned off.
Soil grading – keep the water away!
On the exterior of the home it is important to keep any surface water away from your foundation.
If there are areas around the home where there are depressions directly next to the foundation it is important to fill these in with quality soil. The grade around your house should normally be highest directly against the foundation and slope away to ensure positive drainage.
Keep in mind that the National Building Code of Canada requires a minimum 6” or 150mm clearance from the underside of your siding to the top of the finished grade directly against the foundation. (This number is increased to 8” or 200mm when you have wood siding).
As part of this ensure you have elbows and extensions installed at the ends of your downspouts. I typically recommend installing a downspout extension of 5’ on each downspout. This ensures that water diverted away from the foundation is extended far enough away from the area that was originally excavated to build the house.
A splash pad is required to be installed at the end of downspout extensions in order to prevent soil erosion. Keeping the grass cut short and relocating any items collected directly against your siding is also a good way to ensure that water and excess moisture flow away from the house effectively.
Smoke / Carbon Monoxide Alarms

An often-overlooked area of safety within First Nations housing are both Smoke and Carbon Monoxide alarms.
Both are required to be installed in new construction and newer models require very little maintenance in order to operate properly. All too often alarms that are a critical safety feature are the ones that are often neglected.
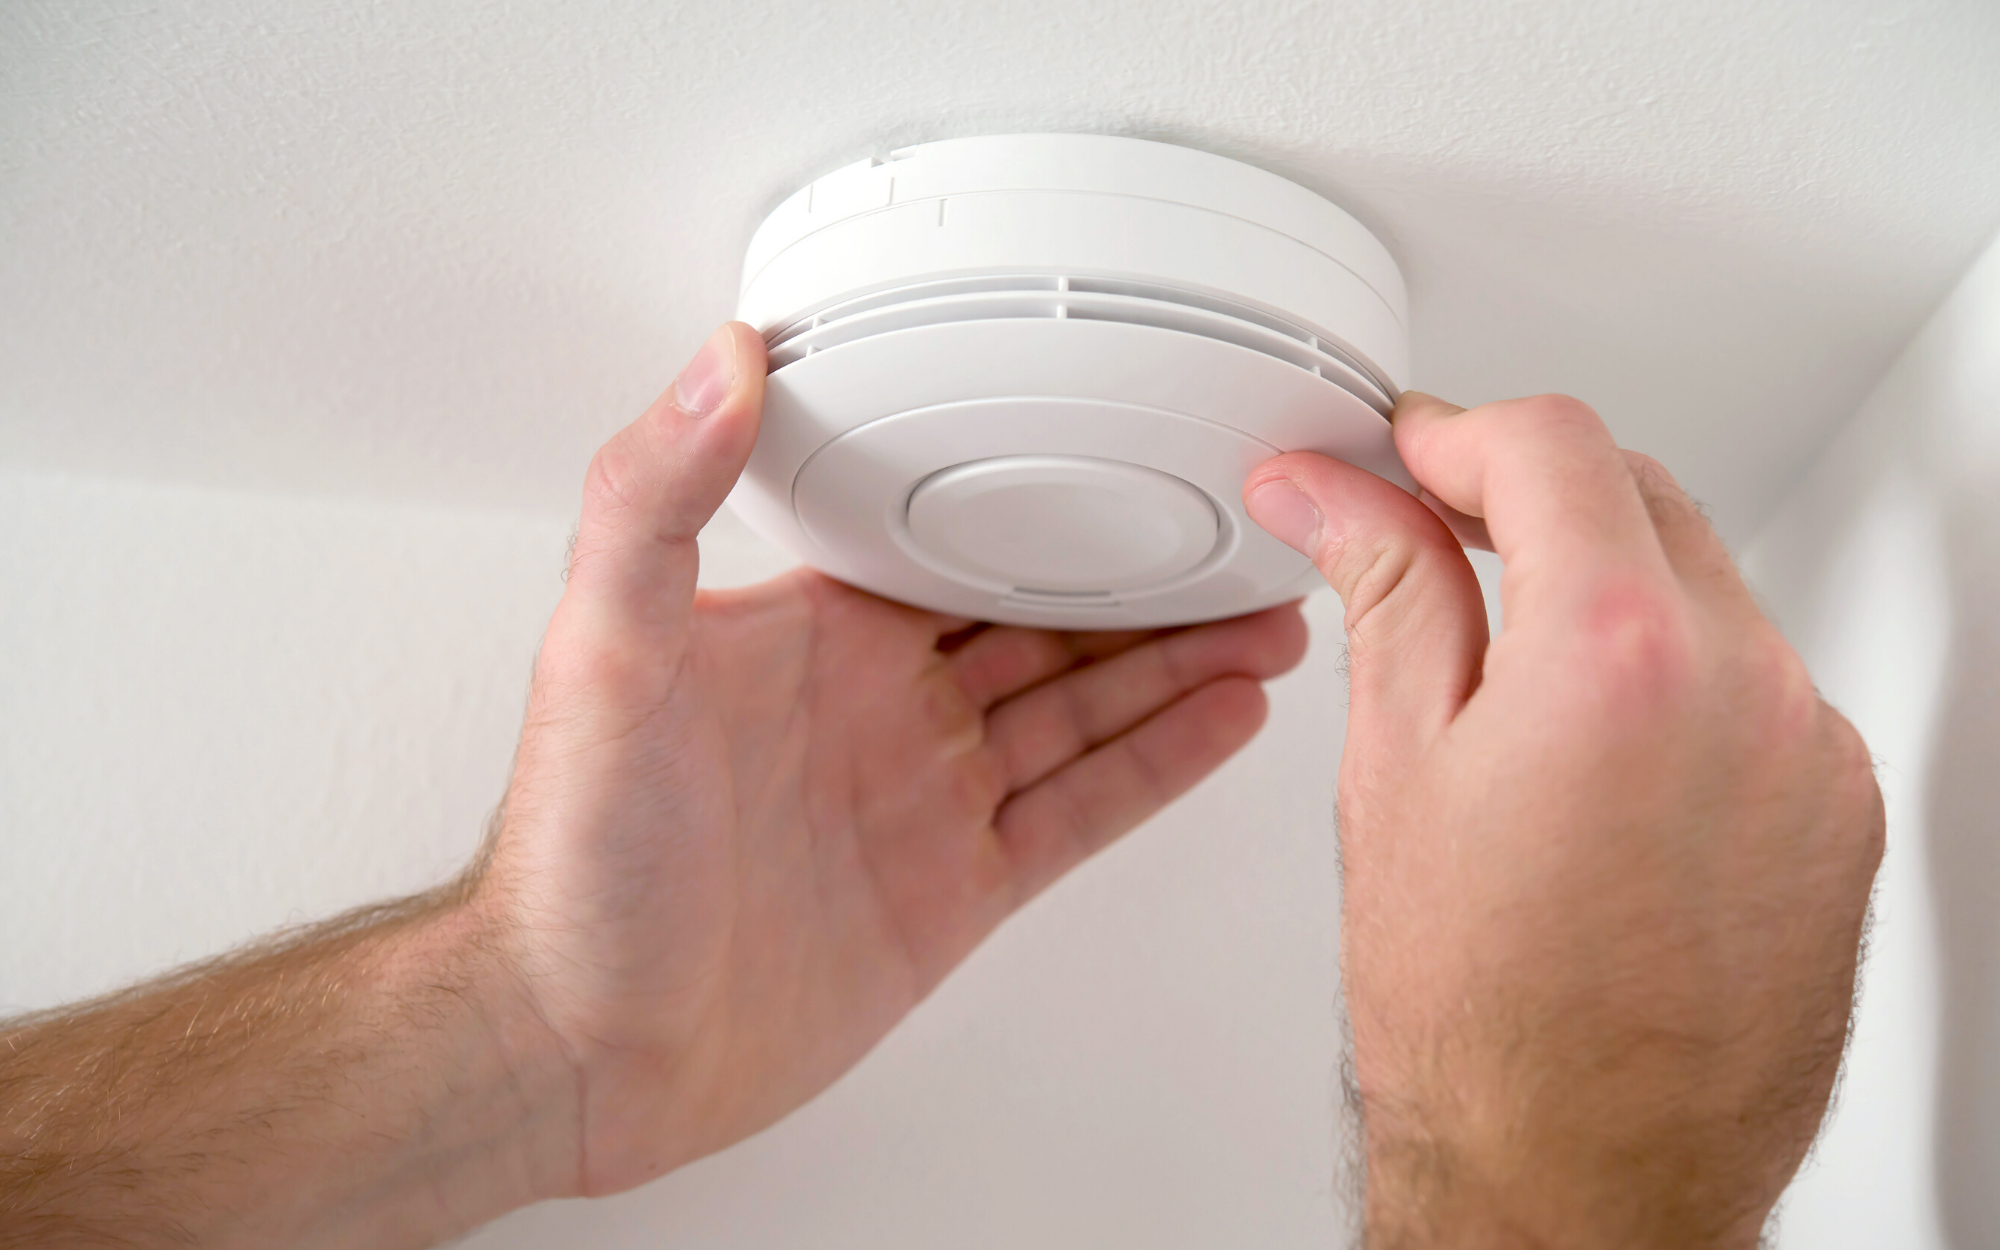
Alarms are normally installed on the ceiling and are wired into the house’s electrical system. Alarms will normally have a battery backup in case the power goes out. It is recommended to test all of the alarms inside your house once per year.
In newer houses the alarms will be interconnected meaning when you test one alarm all of the alarms will go off at once. Newer alarms will also have a visual signaling component constant of a very bright flashing light when the alarms go off, or are tested. Please keep this in mind when testing the alarms so no one in the house is looking directly at the alarms at the time of testing as it can be unpleasant. Most manufacturers recommend replacing the battery back up inside the alarm every 6 – 12 months. In my opinion there is no such thing as being too safe.
I hope you find these tips helpful and maybe even found the time to perform some of these quick tasks yourself. Please be careful while doing any work around the house and don’t be afraid to ask questions if you are unfamiliar with something. Have a good day and stay safe everyone.
